Wednesday, October 29, 2014

WIP Wednesday - More hexies and a heck of a lot of quliting!

Wednesday's rolled around again and my major WIP, Double Trouble, is well... still a work in progress. To distract myself from the discomfort, I've been sewing a fair bit. Isn't it amazing what some quilt therapy can achieve?

This past week-end saw me heading off to the October Sew In for MMQG. I've given up on taking my machine... though MANY of my guildmates offered to carry it to and from the car for me. Such nice ladies! I took advantage of the comfy couch and spent the afternoon handstitching the binding on Honey. Just a sneaky peeky for you today... finish post coming soon!
Our little (but growing!) guild has been asked to participate in a zipper pouch swap with the Victoria Modern Quilt Guild. I couldn't pass it up... I do love a swap! But I figured I'd better get moving and make something before DT makes their appearance! Of course, I decided to do something simple...
Yeah, right. Apparently all the work I've been doing on Honey has turquoise-y hexies stuck in my brain. And I couldn't make large hexies. Where would the fun be in that? These are ¾ inch.
Honestly, the biggest problem with hexies is knowing when to stop. I'm done now. Honest. I just need to quilt this critter and turn it into a zipper pouch!
I finally decided how I wanted to quilt my Global Scrap Bee quilt - which apparently I haven't blogged about since August when the blocks were just starting to roll in! I've been working on emphasizing negative space lately, so I quilted only the white sections. The blocks are so linear - I wanted the FMQ to work with that feeling instead of against it. That goodness for my Pile O Fabric Skill Builder blocks... I used this pattern on the Library Shelf block and it just seems to fit the Converging Corners block.
Sometimes I get into a project and realize that it would have been better to work on the dining room table. This quilt didn't seem so big until I sat down at my studio desk and got to it! A few needles were broken before I realized that the weight of the quilt was really pulling on my machine!
And then... thread-tastrophy! With only this small (one block, really) section left, I completely and utterly ran out of white thread. Progress stalled... oh well, it's not like there's a world wide white thread shortage or something.
An emergency trip to the LQS yesterday (and comments of "You're still sewing?" from the ever helpful staff) saw me finishing all that lovely FMQ today. Now I'm off to handstitch the binding... if the weather holds, I might even cram in a quilty photo shoot one day this week! There's a great location I've been eyeing up for a couple weeks!
Hope you found some time to sew this week - whether you needed it as quilt therapy or not! ☺

J

I'm linking up today with WIP Wednesday @ Freshly Pieced and Let's Bee Social @ Sew Fresh Quilts. Gotta love a link up to get me motivated to post!


Tuesday, October 28, 2014

Having a whale of a time!

Ever since Elizabeth Hartman of Oh, Fransson! launched her new patterns this past summer, I've been smitten with Preppie the Whale. I've made a few taggie blankets in the past (check out all about that here....), but I wanted the ones I was making for Double Trouble to have a little more pizazz. A fine excuse to buy & download Preppie!
Have I mentioned before that I love a digital download? No driving to the store and deliberating. No waiting. No printing it off if you don't feel like it... it's safely stored for posterity on your hard drive. Just don't forget to back up your precious stuff once in a while!

I dove into my Kona stash... choosing the two colours that I used for DT's quilts and two more to accompany them. From the top, there's Grapemist (just for you, Q-D), Honeydew, Aqua, & (a new addition to the team) Goldfish.
Then I got to cutting... each whale has a zillion pieces. Okay, more like 17. But some of them are 1 inch square! Yikes!
At some point after the above pic was taken, I thought that it might have been a smart idea to starch. Oh well... too late now! Once all those little bits were sewn together, some didn't quite fit... you can see the head section is taller than the body section. I'm not sure if a wonky ¼ inch seam allowance is to blame here... I thought I was being careful. ☺
Even if they didn't line up perfectly, they still look danged cute swimming around on my ironing board! Each whale finishes at 4 by 13 inches... odd, odd block size!
Now... to make them into squarish blocks. I added some Kona Ash rather than white... the contrast is just as good and perhaps less likely to stain. I anticipate these will get washed a lot! Grapemist & Honeydew together...
... Goldfish & Aqua!
I missed taking pics of a few steps here... once they were squarish, I sandwiched the blocks with some Minky fabric from the stash and tucked in a zillion and one ribbon tags. I was pretty amazed that I had such a variety of ribbons that coordinated so well!
 Here's one finished Preppie Taggie....
And another... Double Trouble will have to share enough things. It's not like a taggie takes up a lot of room! They finished up at 13 by 12... almost square!
 Snuggly Minky fabric... itty bitties love that dimple dot!
So pleased to have one more thing checked off my "Sew this before the babies get here" list!

J

And, since I'm considering it to still be Monday (albeit very, very late), I'm linking up with Anything Goes Monday @ Stitch by Stitch!

Thursday, October 23, 2014

October TLP & WIP - all rolled into one!

Once again, I'm running a smidge late the monthly update to The Library Project. I only seem to really get my butt in gear when there's a deadline! ☺ The last couple days have seen me working along on my Honey wall hanging...

I was pretty stumped on how to quilt this one. Where it's small, I wanted to push myself and do something  different with the quilting, but I didn't want to take away from the piecing by doing an overall design. #quilterproblems To get things going, I went for zigzags in the grey sashing sections.
 
It took me a little while to figure out exactly what to do where the three corners meet, but I think I found a good solution! Then it was on to the hexies... I didn't have any suitable thread, so off I went to my LQS.... only to realize I had left the quilt at home. Swiss cheese brain... ugh. So I bought every colour of turquoise-y blue they had. How's that for problem solving?!
When I sought the help of my MMQG guildmates, it was suggested a couple times that I do some sort of echo quilting of the hexie shape... so I did. I can't stand marking complicated patterns... even on something this small... so, I measured and figured out roughly how far apart the lines needed to be to make equal sized echos.
For the large sections of grey negative space, I opted to quilt ghost hexies. I marked where the sashing would have been and zigzagged it and then did echo-style quilting where the hexies would be.
I'm pleased to say that I should have this one finished completely by the end of the week-end! My master plan is to hand stitch the binding at this Saturday's MMQG Sew In. I couldn't be happier to be almost finished my Library Projects. But I do still have another month or two... perhaps I'll try for a bonus round!

J

P.S Since it's Wednesday, I'm also linking up with WIP Wednesday @ Freshly Pieced and Let's Bee Social @ Sew Fresh Quilts. Apparently, I'm a link-up-aholic today!

Monday, October 13, 2014

Finish Up Monday! - Manly Yoga Tote

What you say? A Finish on a Monday? What I can I say... things are a little cattywampus around here these days. I'll take a finish any 'ole day I can get one! It also gives me a chance to wish all of you a Happy Thanksgiving! Today is also my Dad's birthday. To say it's been a long time since I made him anything would be an understatement. I won't get into all the gory details, but we haven't always had the easiest of relationships. 
So when he asked a couple days ago if I was still sewing much (apparently he doesn't subscribe to the blog ☺) and wondered if I might make him a yoga bag, I felt like an opportunity fell into my lap. I went searching for just the right yoga bag tutorial... not too plain, not too fancy, not the same as the one I made for Ms. M.  I decided to use Amy Butler's free pattern as a jumping off point (mainly for the sizes of pattern pieces) and modify as I went.

Sewing things over the holiday week-end (i.e. when the LQS is closed!) can be a little challenging. To the stash, my friends! I found some denim left from Ade & I's Sewing Circle Totes. Though I had originally thought to do the pocket and strap in an orange print (my Dad's not afraid of colour!), there wasn't anything just right in the stash. But this Robert Kaufman remnant fit the bill nicely! Where the denim is so heavy, I opted out of lining the tote.

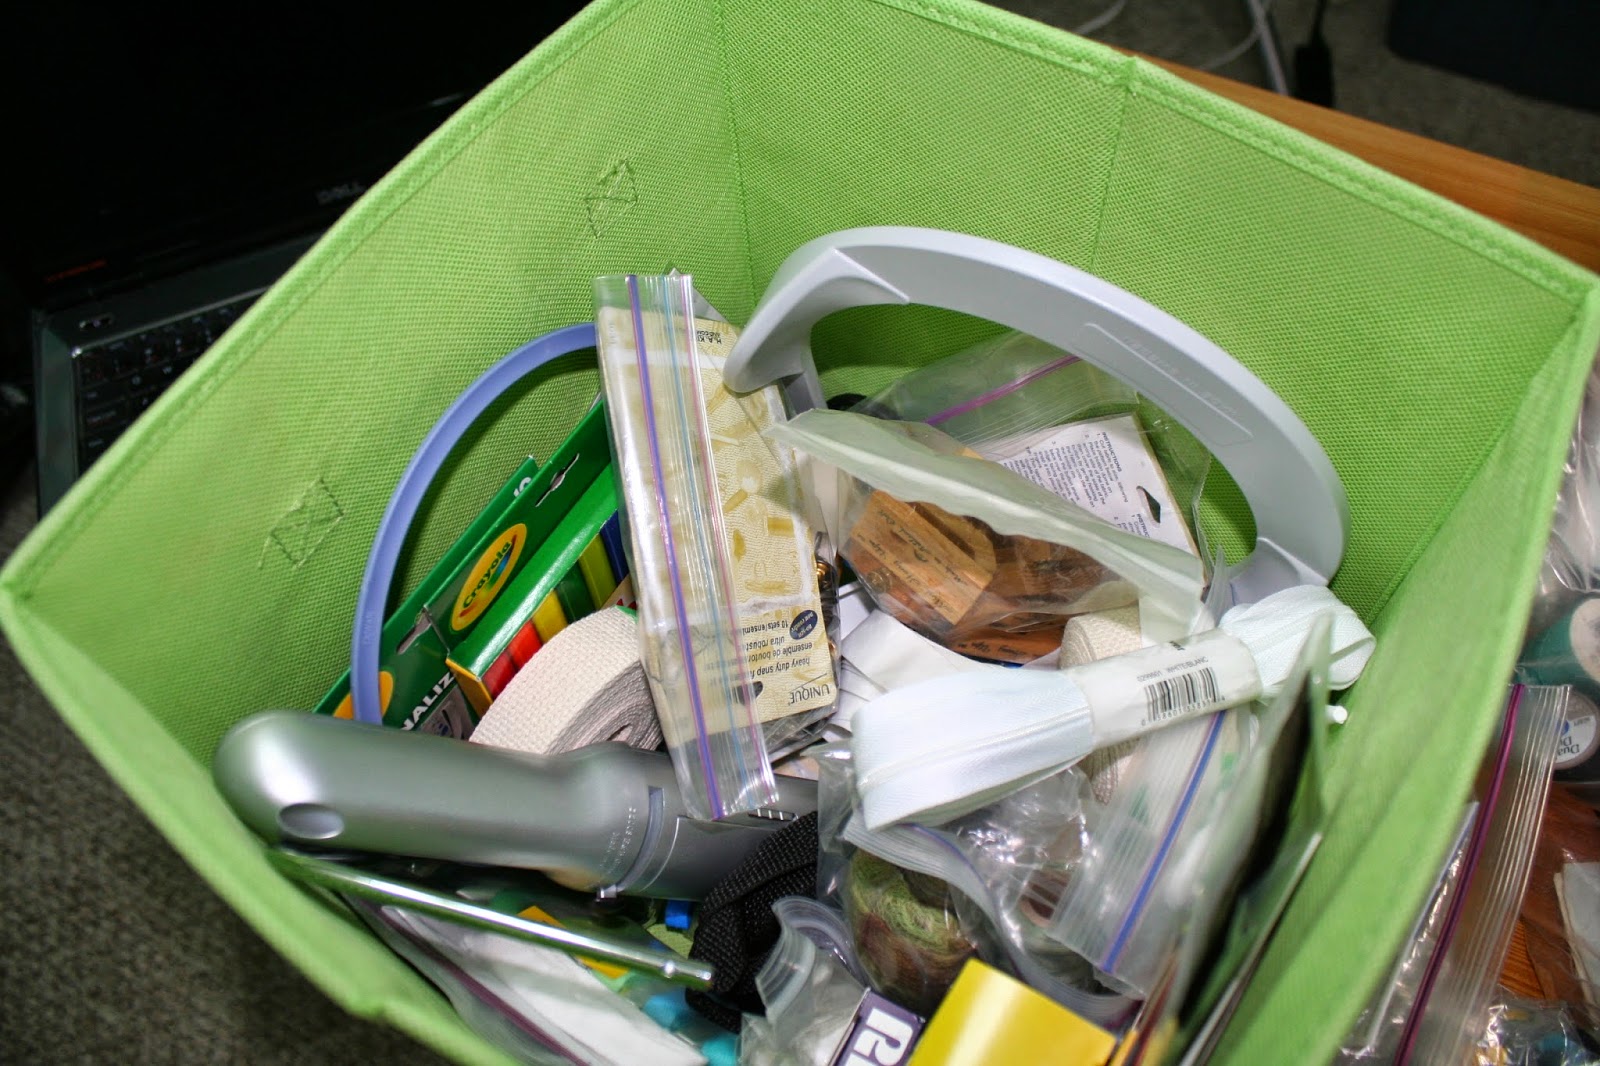
Sometimes I buy notions without a clear idea of exactly what they will become. This 2 inch webbing (looks like seatbelt material) came in handy for making a nice, wide, durable strap. I can't stand when straps curl up and look shlumpy. Yup, shlumpy's a word.
I tucked it into an 8 inch wide strip that I had pressed into quarters. Worked like a charm!

Then my least favourite part, sewing that pesky bottom into the bag. I reached for my Wonderclips....
This is the sort of thing that happens when you leave Wonderclips out in the open. Did I mention that Himself is life-long fidgeter? True story. Anyway....
The Wonderclips are so much easier to deal with than pins in this situation. Thanks to Dominique from The Running Thimble for pointing this out to me on the last yoga bag I made!
I didn't think ahead of time and made the bottom the same fabric as the tote body. The pocket fabric might have been a better fit here, but it's not as sturdy.

More digging in the bin of random notions...
yielded these treasures, elastic cording and a pinch closure. The Amy Butler pattern didn't have a closure system, but felt like it needed a drawstring at the least.
And done! The height is just right for the mat and the pockets are super deep. I don't see keys or a phone getting out of those pockets!
When it was unwrapped, Dad pronounced it just right. He'll be heading off to yoga class tomorrow with it over his shoulder! Only now Mom's a little less enamoured of her less than fancy yoga tote - made sometime at least 10 years ago. A sewist's work is never done! ☺

So, what I am I thankful for today? Honestly, with very little thought, the list grows long... quickly. I am of course thankful for Himself and our much wished for Double Trouble (set to arrive very soon). But I'm also thankful that I was able to enjoy a wonderful meal and quality time with my Mom and Dad today. There was a time in the not so distant past that I never thought that would be possible. So very, very thankful. Here's hoping that you too had some thankful moments today. We don't have to save it for once a year!

J

P.S. Shamelessly linking up with Anything Goes Monday @ Stitch by Stitch. I mean, it's not every Monday I have something to blog about! 

Friday, October 10, 2014

Finish Up Friday! - Open Wide Zipper Pouches à la Noodlehead!

A while back, I made some gorgeous Road Trip Cases designed by Anna Graham of Noodlehead. The pattern was well worth the 7$ price tag (and no, she didn't pay me to say that!) That said, if you're not into paying for patterns, she has some fab tutorials on her site as well - one of which is for the Open Wide Zippered Pouch. I've had this tut pinned for a dog's age and this week, I thought of the perfect reason to whip some up!

I won't go into all the details of how they're made - Anna's tut does that far better than I ever could! But I did opt to box the corners at 3 inches instead of the 4 inches given in the pattern. This is probably why my pouches turned out a little more squat than the ones on the Noddlehead blog. I have an odd feeling that I did something wrong in the construction of these, but I can't quite put my finger on what it is. Oh well... they still look good! ☺

These three medium sized pouches will be filled with goodies and packed in my hospital bag as gifties for the great nurses I know I'm going to have at our local women's and children's hospital. When I was hospitalized at the same facility back in early March, I had phenomenal care. I feel badly that I wasn't able to thank the nurses with a little something... I was just too sick.
I also went on to make a few of the small versions of the pouch... here's one pictured with the medium version. There's also a large pouch (which I've yet to make).
 Don't you just love Domino Dot?
And the smaller ones are for the receptionists at my doctor's office. These ladies have been so good to us through this long, long process!
Since it's Friday, I'm linking up with Finish Up Friday @ Crazy Mom Quilts.

J

P.S. In the interest of full disclosure, it may seem from a bloggy perspective that a lot of amazing things get done here every darned day. I will say here and now that there is a great deal of napping, eating of snacks, and general bleh-ness. Sometimes wanting to write a blog post about a project is the thing that keeps me going and makes me feel some semblance of normality is being maintained. Remember... not everything you see on TV or the internet is exactly like real life. Any one still trying to adopt a House Hippo?

Wednesday, October 08, 2014

WIP Wednesday - And now for something completely different...

Too tired to sew? Can't decide how to quilt that pesky WiP? What's a very pregnant soon to be momma of twins to do? Screenprint two dozen onesies, of course! I know, I know... it's not exactly quilting and this is a quilt blog. But I also love to use my Yudu. I've even done some quilting/Yudu projects and would love to do more.

I've been having some technical difficulties with my machine for a while and I'm just so darned pleased to have it up and running again. For those of you who don't know much about Yudus, I'll give you a quick primer. It's a device that allows you to make professional level screens using light sensitive emulsion and then use those screens to print anything you'd like on fabric, paper, wood, etc. If you can create it on your home computer and make an overhead transparency of it, you can screen it on fabric. Fun, huh? I won't go into all the steps, but here are the basics of how to print something once you have a screen made.
First apply your ink... I use primarily Yudu or Speedball brand inks.
With the screen not touching your item to be printed, flood the screen with ink using a sharp edged plastic tool. The open areas are going to be what show up on your printed item. You want to make sure you fill them with ink.
Then pull the tool over the flooded area, pushing the ink onto the fabric under the screen. Sorry, no pic of this step. It's too tricky to hold a camera and pull ink at the same time. But, voilà! A finished printed onesie!
Onesies are a little trickier than big people sized t-shirts because you have to position them so carefully. That said, I normally can only do one image per screen for t-shirts. For onesies, I can fit three in the same space! Here's a sampling of what I made today...

Cute, huh? They won't all be for Double Trouble. I plan to tuck a few away in the present box for future baby shower gifts. I have about a million more ideas, but may run out of time (and energy!) before they're done!

I'm linking up today with WiP Wednesday @ Freshly Pieced and Let's Bee Social @ Sew Fresh Quilts. I hope they don't kick me out for lack of quiltiness this week! ☺

J

P.S. If you're interested in screen printing, but some of these links offer DIY techniques on a simpler scale to achieve similar results. Warning - I haven't used any of them!
Technique using an embroidery hoop, organza & Martha Stewart decoupage glue
Technique using a freezer paper stencil
Technique using embroidery hoop & pantyhose

You can also check out Speedball Art for info on their screen printing system. They've been around forever!

***We will now return to our regularly scheduled quilt blog!***

Friday, October 03, 2014

Friday (almost) Finish - Hexie Stockings!

It's been slow goings here in Quarter Inch from the Edge land lately... though I have plenty of time to sew (that's new!), I just don't seem to have the energy. Himself keeps saying it's because I'm 8 months pregnant with twins. Pfftt... as if that should slow anyone down!? ☺

A while back, I blogged about the beginnings of a pair of Christmas stockings for (soon to make an appearance) Double Trouble. I'm pleased to say that they're (almost) finished!
 I just love popping out the cardstock hexie templates... so satisfying!
For the quilting stage, I opted to create separate quilt sandwiches for the front and back. I didn't bother to cut them down to shape using my stocking template, but kept them rectangular. And yes, I'm watching Downton Abbey (again). When in doubt, watch Downton. So happy that a new season will soon be coming our way!
On my last post, people gave all sorts of helpful suggestions on how to quilt the stockings. In the end, I decided that I wanted the fabrics and the hexies to be the stars of the show. I went with a large stipple... making sure not to quilt through any of the owls. I didn't want to hurt them! ☺ Sometimes I outlined their hats or their antlers... can you see them?
 But trimming them... it hurts... it really does hurt!
Since my method will leave raw edges inside the stocking, I decided to zig zag the edges of all the pieces before sewing the stockings together. I'm not overly concerned about raw edges on this project... it's only being used for a short period of time each year. And these are temporary stockings for Double Trouble... they're a little smallish for my family's tradition!
Now we're making progress... they actually look like stockings. One is lined/backed with Kona Poppy, the other with Kona Chartreuse.
Next step, stocking cuffs. I opted to make them four inches wide... giving me lots of room for seam allowance and turning it back over the stocking. I cut two strips 8 by 20, folded them in half lengthwise and sandwiched a piece of batting between the two layers to give it a little umph.
 One done...
 And two done!
You can't tell from these pics, but for the moment, the cuffs are pinned in place. Once Double Trouble get here, I'll need to embroider their names on the cuffs.... a task much more easily done if they're not yet attached to the stocking!

I'm calling these done for now... and linking up with Finish Up Friday @ Crazy Mom Quilts and TGIFF @ Quokka Quilts. Finishing these has revved me a up a little... maybe I'll have some more finishes to share in the days to come! And I'm headed to a teacher pal's place tonight for a quilt consult - I love helping beginner quilters!

J